Add a project to a gallery
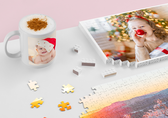
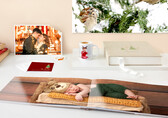
As well as images, you can also add projects to your gallery. Projects are photo products you design yourself, such as photo books, photo prints, wall art, calendars, photo gifts, cards, etc.. In the Projects panel, select the project you want to add to a gallery. This project must already be shared. If it is not, you will need to go to the Sharing settings and Activate sharing. You can also allow its ordering.
Once the project has been shared, the Add to gallery option will appear in the drop down menu of the project. You will also find this option in the right menu when the project is selected.

All you have to do is select the gallery you want to include it in.

If you go to the Galleries panel and open the gallery where you added your project, you will see that your project has been added.

And if you open the gallery's shared link, you will see that the project is available and has been added to the gallery.

If you wish to remove it from the gallery, you need to go to the Galleries panel and open the gallery to which the project has been added.
Here you need to select the project and click on the cross in the menu to the right where the gallery it is added to is specified. Or you can drop down the project menu and select Remove project from gallery.


