


QR Code Gallery Setup
QR Galleries streamline the experience for both photographers and their customers. If you're primarily into nursery and school photography, this is the perfect solution for you.
For photographers, QR Galleries automate the often-tedious tasks of uploading and organizing photos, freeing up time to focus on capturing the perfect moment. Simply download the QR codes for the photoshoot. Photograph each QR code first, then the corresponding participant. Once uploaded, they’ll automatically be sorted into individual galleries for each participant.
For customers, QR Galleries offer not only the instant convenience of accessing photos with a quick scan of a QR code, but also an added layer of control and security. Customers have exclusive access to their own personal galleries, with the option to further protect their images with password protection.
Activate the QR Code Feature
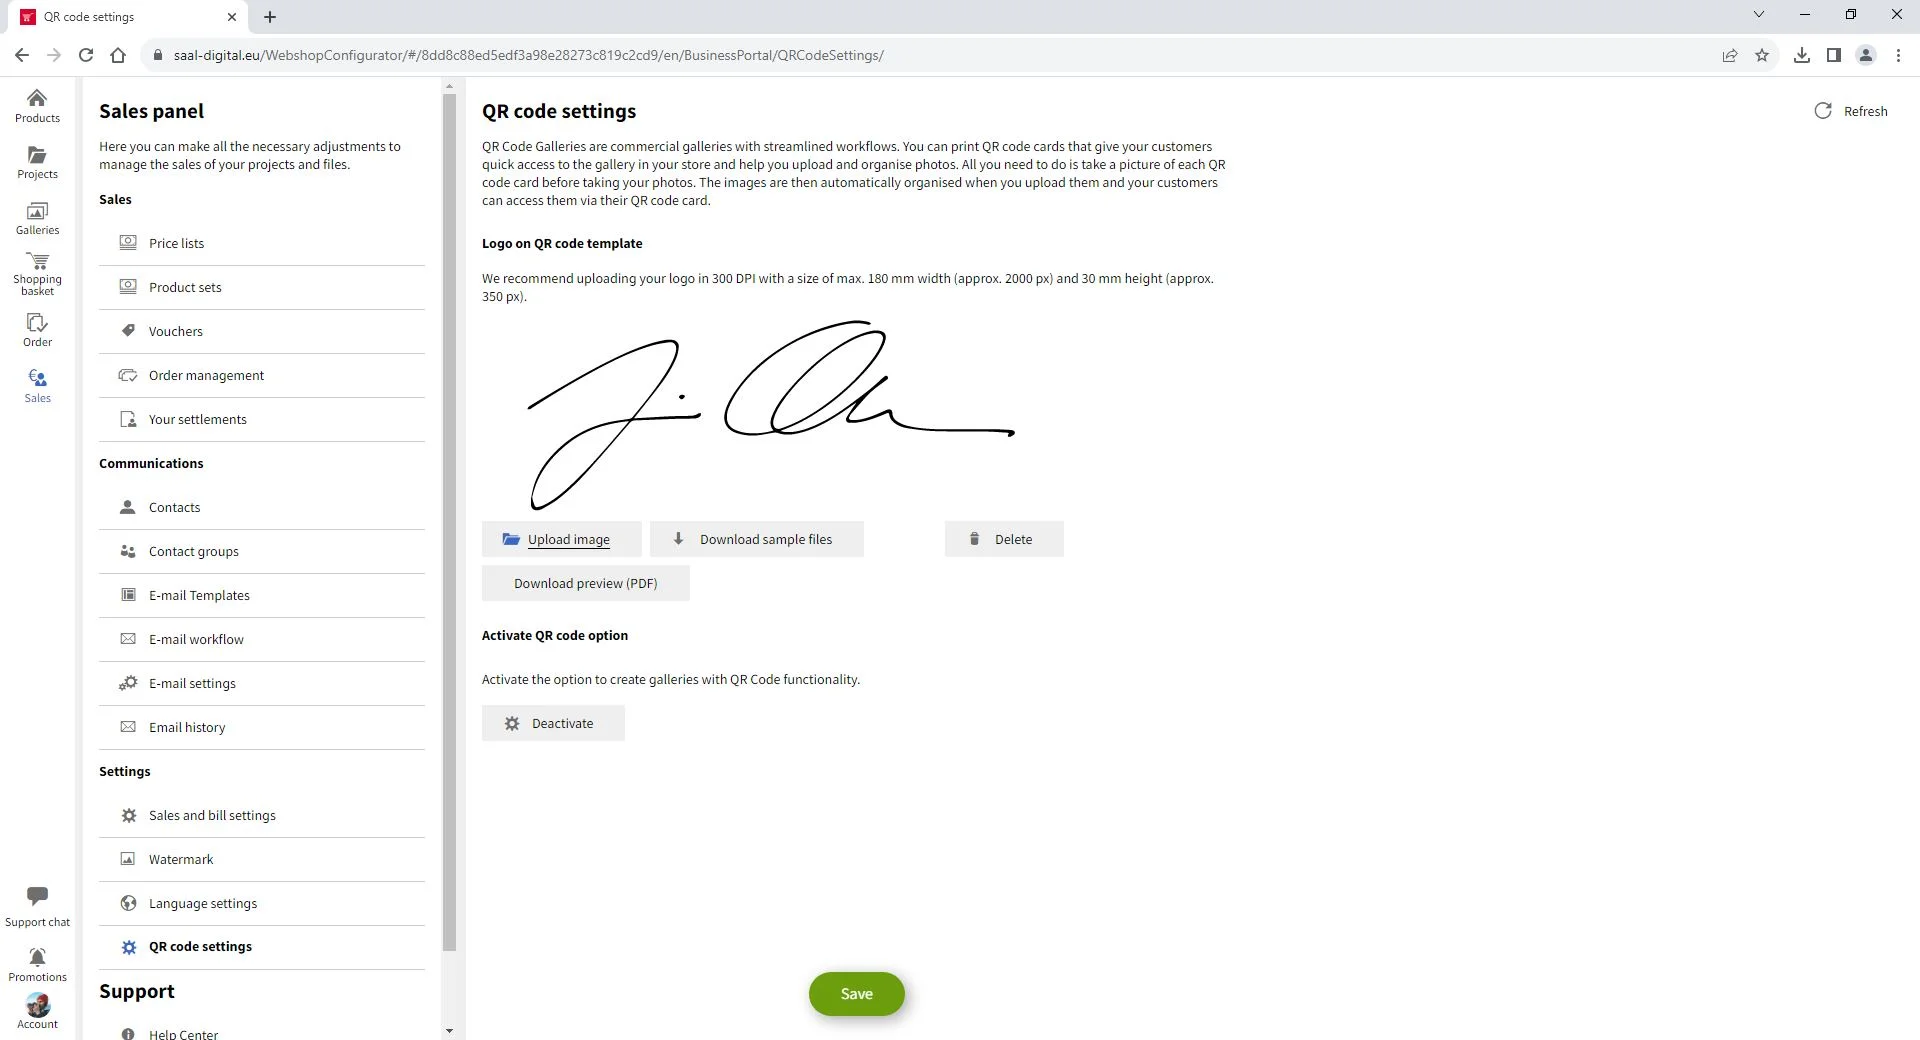
To enable this feature, first navigate to the Sales Panel and open the QR code settings. Click on the Activate button to enable the QR Code functionality. Once activated, you can upload your logo by clicking on the Upload image button and selecting your logo. This will customise your QR cards and make your logo visible on them. To better understand the final result, click on Download sample files to get a sample set of QR Cards. You can also click Download Preview PDF to download a preview of your QR Cards. Remember to click Save to apply any changes.
Create a QR Code Gallery
Once you have activated and saved the QR Code settings, go to the Galleries menu and click Add. A new gallery type will appear with QR code functionality. Clicking on this option will open a menu where you can enter the necessary settings.

Title. Enter the title for your gallery that will be visible to your customers.
Description. If you wish, you can add a description to your gallery, which will also be visible to your customers.
Date of photo shoot. Enter the date of the photo shoot.
Start publishing. Enter when you want to start selling your photos.
End publishing. Enter when you would like to stop selling the photos.
E-mail workflow. Select an email workflow that you’ve previously set up in the Sales Panel.
People expected. Enter the number of people expected at the shoot to generate the appropriate number of QR Cards. We recommend creating a few extra cards just in case. You can always generate more QR Cards.
Once you have filled in all the details, click Continue to proceed.

Your new empty QR Gallery will open. The General menu will be displayed by default. Additional QR Gallery management tools such as Contacts, Orders and QR Codes will appear in the right column.


